Understanding the Basics: What is an Irregularly Shaped Land?
When we think of land, we often picture it as a perfect square or rectangle, neatly defined by straight lines and right angles. However, in reality, land can have all sorts of irregular shapes.
An irregularly shaped land refers to a piece of land that does not have a regular or symmetrical shape. Instead, it may have curves, angles, or uneven sides. These irregular shapes can be found in various types of land, such as islands, peninsulas, or even plots of land within cities.
Why does this matter?
Understanding irregularly shaped land is crucial, especially when it comes to property and land development. For instance, when purchasing or selling land, it’s important to accurately determine its boundaries and shape to avoid any potential disputes or legal issues.
How is it measured?
The measurement of irregularly shaped land can be challenging. Traditional methods of measurement, such as using a tape measure or ruler, may not be accurate or feasible due to the irregularity of the shape. Instead, advanced technologies like GPS (Global Positioning Systems) or GIS (Geographic Information Systems) are often used to precisely measure and map irregularly shaped land.
Examples of irregularly shaped land
There are countless examples of irregularly shaped lands around the world. Some notable examples include:
- The Florida Keys: This chain of islands off the southern coast of Florida is known for its irregular shape, with numerous curves and bends.
- The Boot of Italy: The southern part of Italy resembles a boot, with a unique shape that deviates from the conventional square or rectangular forms.
- Central Park, New York City: This iconic green space is an example of irregularly shaped land within a bustling metropolitan area, providing a serene and natural escape.
In conclusion, understanding what an irregularly shaped land is and how it can be measured is essential for various purposes, from land transactions to urban planning. By recognizing and appreciating the diversity of land shapes, we gain a deeper understanding of the world around us.
Method 1: Break It Down into Simple Shapes
When it comes to creating complex images or objects, breaking them down into simple shapes can be a helpful technique. By starting with basic geometric forms, you can gradually build up the details and complexity of your design.
There are several steps you can follow to implement this method:
Step 1: Identify the Basic Shapes
Begin by analyzing the image or object you want to recreate. Look for simple shapes that can serve as the building blocks for your design. These shapes can be circles, squares, triangles, or any other basic form.
Step 2: Sketch Out the Composition
Using the identified shapes, sketch out the overall composition of your design. You can use pencil and paper or digital tools to create a rough outline of how the simple shapes will fit together.
Step 3: Refine the Outlines
Once you have the basic composition, start refining the outlines of each shape. Pay attention to the proportions and curves, making sure they accurately represent the image or object you are recreating.
Step 4: Add Details and Textures
Next, gradually add details and textures to your design. This can include shading, colors, and patterns. Remember to keep the details aligned with the simple shapes you started with, maintaining the overall structure.
Step 5: Finalize the Design
Once all the details are added, review your design and make any necessary tweaks or adjustments. Pay attention to the balance of elements and ensure that the overall image or object still reads as the intended subject.
Breaking down complex designs into simple shapes not only makes the process more manageable but also allows you to better understand the underlying structure. This technique can be applied to various artistic endeavors, including drawing, painting, graphic design, and even sculpture.
Method 2: Using the Shoelace Formula
In geometry, finding the area of a polygon can sometimes be a challenging task. Fortunately, there are various methods available to simplify this process. One such method is the shoelace formula, which can be used for finding the area of any polygon, regardless of its shape.
To understand this formula, let’s consider a polygon with n vertices, represented as (x1, y1), (x2, y2), (x3, y3), …, (xn, yn) in a coordinate plane. The shoelace formula states that the area of this polygon can be calculated using the following steps:
- Write down the coordinates of the vertices in a table, including the first vertex at the end to complete the loop.
- Multiply the x-coordinate of each vertex by the y-coordinate of the next vertex, and subtract the y-coordinate of the current vertex multiplied by the x-coordinate of the next vertex.
- Add up all the results obtained in step 2.
- Take the absolute value of the sum obtained in step 3.
- Divide the absolute value by 2 to get the final area of the polygon.
Here is an example to illustrate the shoelace formula:
Consider a triangle with vertices (1, 2), (4, 6), and (7, 3). To find its area using the shoelace formula, we can follow the steps outlined above.
| x | y |
|---|---|
| 1 | 2 |
| 4 | 6 |
| 7 | 3 |
| 1 | 2 |
Now, let’s perform the calculations:
(1 * 6) – (2 * 4) = 6 – 8 = -2
(4 * 3) – (6 * 7) = 12 – 42 = -30
(7 * 2) – (3 * 1) = 14 – 3 = 11
Adding up the results: -2 + (-30) + 11 = -21
Taking the absolute value: |-21| = 21
Finally, dividing by 2: 21 / 2 = 10.5
Therefore, the area of the triangle is 10.5 square units.
The shoelace formula provides a straightforward method for finding the area of any polygon. It relies on simple calculations and can be easily implemented in computer programs or mathematical software. Next time you encounter a polygon and need to determine its area, consider using the shoelace formula for an efficient solution.
Practical Tips for Measuring the Sides
When it comes to measuring the sides of an object or shape, precision is key. Whether you’re working on a construction project or simply trying to determine the dimensions of a piece of furniture, accurate measurements are essential. Here are some practical tips to help you measure the sides of an object effectively:
Use a ruler or tape measure:
The most basic and common tool for measuring sides is a ruler or tape measure. Make sure to use a ruler that is appropriately sized for the object or shape you’re measuring. With a ruler, you can easily determine the length of each side and record your measurements for future reference.
Measure from end to end:
When measuring a straight side, such as the length of a wall, be sure to take the measurement from one end to the other. Place the measuring tool flush against the starting point and extend it until it reaches the endpoint. Avoid any gaps or overlaps, as they can affect the accuracy of your measurement.
Consider using a square:
If you’re dealing with right angles, using a square can be helpful. A square is a tool with a 90-degree angle that can assist in ensuring the sides are perpendicular to each other. By aligning the square with the sides you’re measuring, you can verify their accuracy.
Account for curves or irregular shapes:
When measuring the sides of curved or irregular shapes, things can get trickier. In such cases, it’s best to use a flexible measuring tape or string and wrap it around the object. Once you have the whole length, you can either transfer it to a ruler or measure it using a measuring tape with corresponding markings. It may require some estimation, but doing so can still provide you with a relatively accurate measurement.
Take multiple measurements:
To ensure the accuracy of your measurements, it’s always a good idea to take multiple measurements of each side. This helps identify any inconsistencies or errors in your initial measurements. It’s also advisable to record your measurements immediately to avoid forgetting or mixing them up.
By following these practical tips, you can confidently measure the sides of any object or shape with accuracy. Remember to always double-check your measurements and use the appropriate tools for the task at hand.
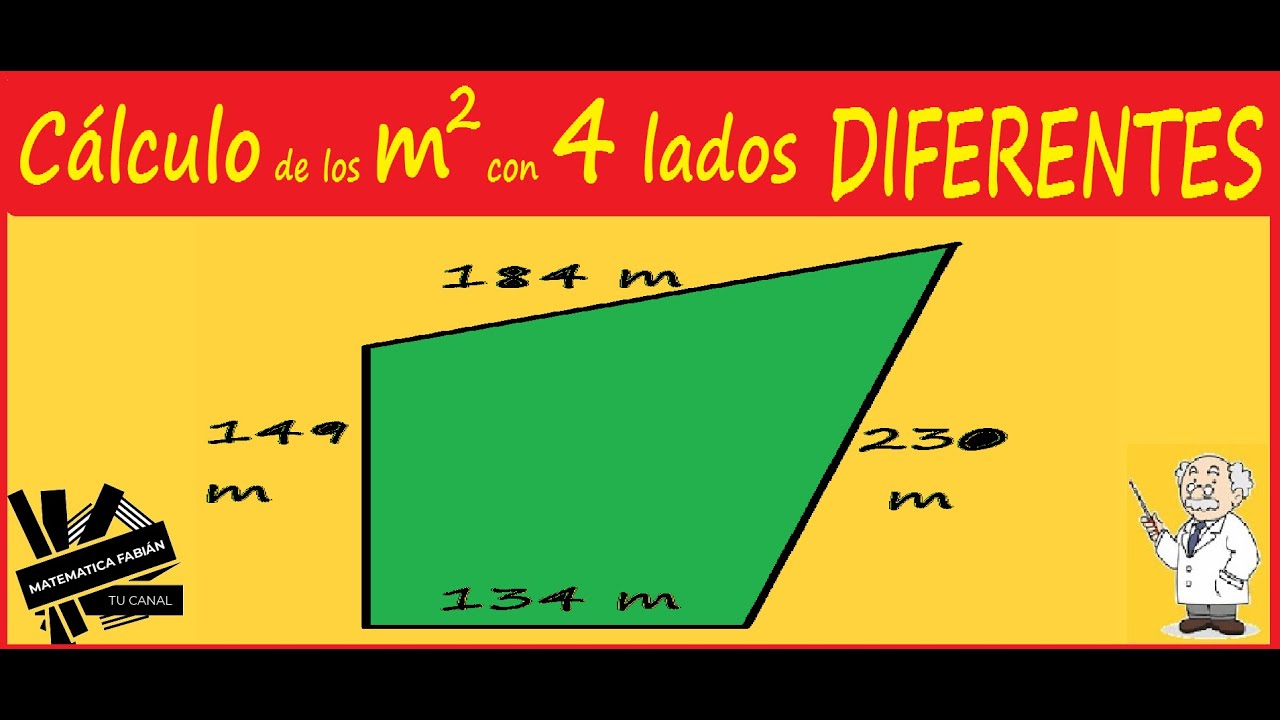
Putting It All Together: Step-by-Step Calculation Example
En este ejemplo, vamos a poner en práctica todos los pasos que hemos aprendido hasta ahora para calcular un resultado paso a paso.
Paso 1
Leer el problema: Primero, debemos leer cuidadosamente el problema y comprender qué es lo que se nos está pidiendo calcular.
Paso 2
Identificar los datos: Después de leer el problema, debemos identificar los datos que se nos han dado y que necesitaremos usar en nuestros cálculos.
Paso 3
Seleccionar la fórmula adecuada: Una vez que tenemos los datos necesarios, debemos seleccionar la fórmula adecuada para resolver el problema.
Paso 4
Sustituir los datos en la fórmula: Ahora, sustituimos los valores numéricos o las variables en la fórmula seleccionada.
Paso 5
Realizar los cálculos: A continuación, realizamos los cálculos necesarios siguiendo la fórmula seleccionada.
Paso 6
Evaluar y verificar el resultado: Una vez que hemos calculado el resultado, debemos evaluar y verificar si tiene sentido en el contexto del problema y si es el resultado correcto.
Paso 7
Presentar el resultado: Finalmente, presentamos el resultado de nuestra solución, asegurándonos de incluir las unidades correctas si es necesario.
Siguiendo estos pasos, podemos resolver problemas matemáticos de manera organizada y eficiente.